
Shopify
Get paid on Shopify with PayMeGate payment links
Buyers pick PayMeGate at checkout, get a secure payment link by email, and the Shopify order is marked paid as soon as they pay. Setup takes about 10 minutes and no code.
Buyer checks out
They choose PayMeGate as the payment method on your Shopify checkout.
Link by email
PayMeGate emails them a payment link for the exact order total.
Order marked paid
Once paid, Shopify shows the order as Paid so you can fulfil it.
Before you start
- You are the owner of the Shopify store, or have permission to manage apps and payments.
- Your PayMeGate account is in live mode. Shopify does not connect in sandbox mode.
- 1
Add PayMeGate as a payment method in Shopify
Shopify admin → Settings → Payments
- Scroll to Manual payment methods and click Create custom payment method.
- Name it PayMeGate. You can use another name, but you must type the same name in PayMeGate later.
- In Additional details, write what buyers see at checkout, for example: “Pay online by card or crypto. You’ll get a secure payment link by email right after you place your order.”
- Click Activate.
- 2
Create your PayMeGate app in Shopify
dev.shopify.com → Apps → Create app
- Sign in with the account that owns your store and click Create app. Name it PayMeGate.
- In the app version settings, paste the values from PayMeGate (they also have copy buttons in your dashboard):
- App URL:
https://www.paymegate.com/dashboard/settings/plugins - Redirect URL:
https://www.paymegate.com/shopify/callback - Scopes:
read_orders,write_orders
- App URL:
- Turn off Embed app in Shopify admin if it is offered, then click Release.
- If Shopify asks about protected customer data, allow access to the customer’s name and email. PayMeGate needs the email to send the payment link.
- 3
Copy your app's Client ID and secret
dev.shopify.com → your PayMeGate app → Settings
- Copy the Client ID and the Client secret.
- Keep the secret private. Only paste it into PayMeGate.
- 4
Connect the store in PayMeGate
PayMeGate dashboard → Settings → Plugins → Shopify
- Enter your store address (for example
my-store.myshopify.com), the payment method name from step 1, and the Client ID and secret from step 3. - Click Connect Shopify. Shopify opens and asks you to install the app: click Install.
- You come back to PayMeGate and see Connected to your store.
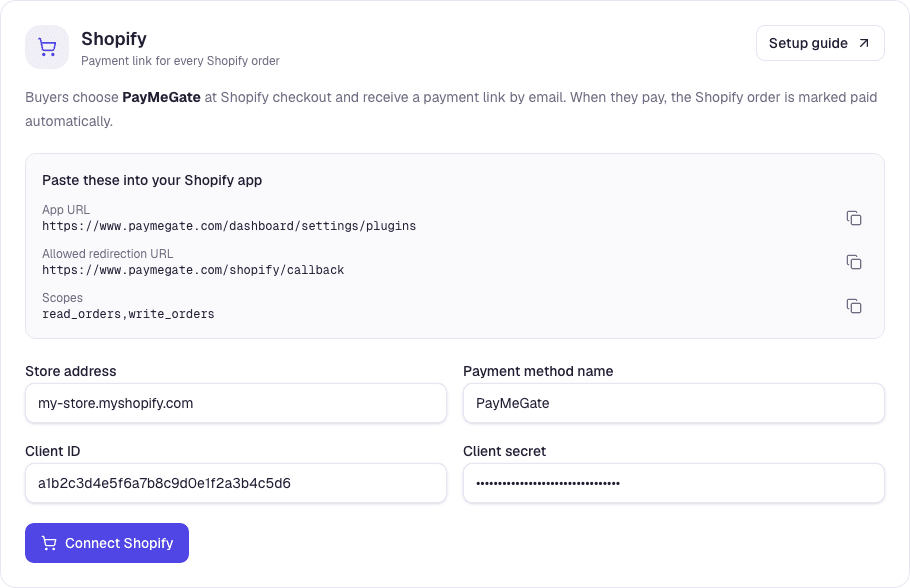
The Shopify card in PayMeGate with the store address, Client ID and secret filled in 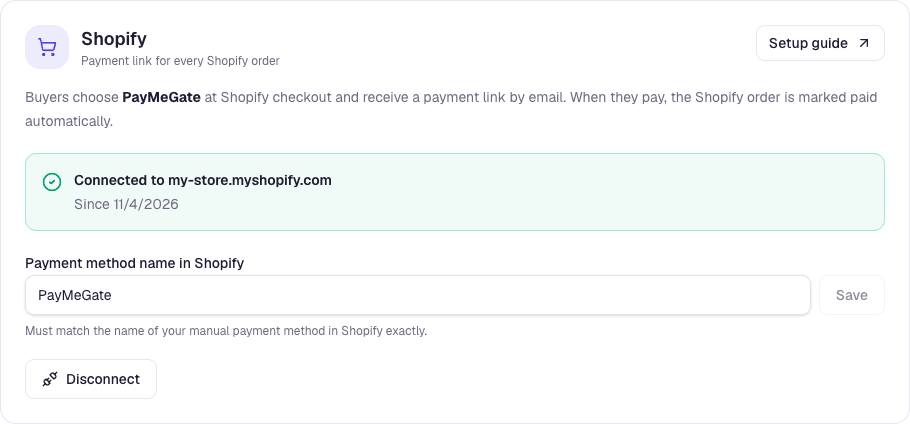
PayMeGate showing the Shopify store as connected - 5
Place a test order
- On your store, add a product to the cart and pick PayMeGate at checkout.
- Within a minute the buyer gets an email with a Pay now button. The order appears in your PayMeGate dashboard too.
- After payment, the Shopify order changes from Payment pending to Paid on its own.
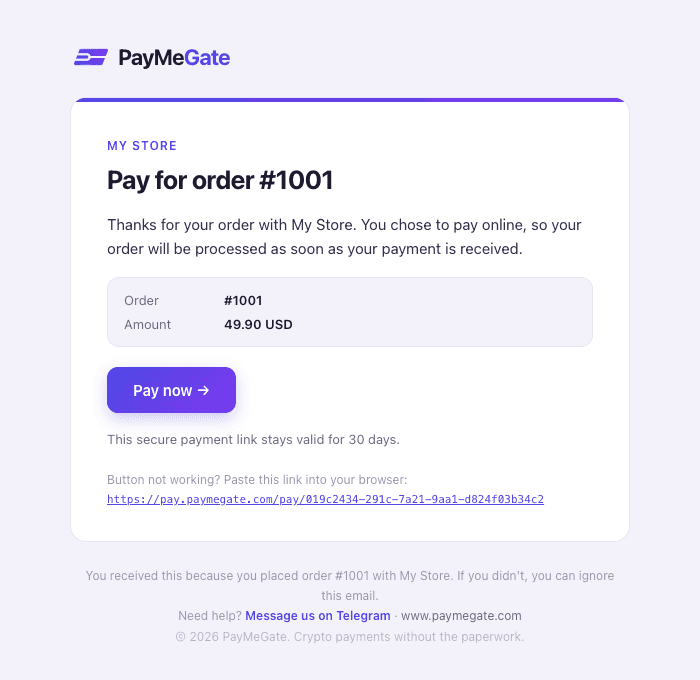
Payment link email the buyer receives
Good to know
- What if Shopify can’t be marked paid?
- If the buyer pays but the Shopify order was cancelled or its total changed, PayMeGate does not mark it paid. You get a dashboard notification and can mark it paid in Shopify yourself.
- Do other payment methods still work?
- Yes. PayMeGate only handles orders where the buyer picked the PayMeGate payment method.
- I renamed the payment method in Shopify
- Update the name in PayMeGate → Settings → Plugins → Shopify. The two names must match exactly.
- How do I disconnect?
- Click Disconnect on the Shopify card in PayMeGate, or uninstall the PayMeGate app in Shopify. Either one stops new payment links.
Using WooCommerce, WHMCS, PrestaShop or OpenCart instead? See the other plugins.